You now know all about the Golden Rule of Digitisation and your plan is starting to come together. In this post we are talking techs and specs such as: image capture; technical definitions; standards and storage.
This is the third post in a series about starting a digitisation program. The series covers: project planning; technical specifications; handling the archives; scanning tips; file storage, and; access.
In this post:
I’d like to thank our photographer, Tara Majoor, for her time, knowledge and contribution to this post.
Warning: we tried to keep this as basic as possible and link out to more in-depth information but you might want to grab a coffee for this one. Alternatively, if you need some bedtime reading…
Image capture – techs and specs
In our last post you learnt the Golden Rule of Digitisation and the importance of creating a master file (from which derivatives files are made). As you’ll recall, master files are the original files created during the image capture process: the aim of a master file is to be of a high enough quality to meet your organisation’s access and/or preservation needs, both now and in the future.
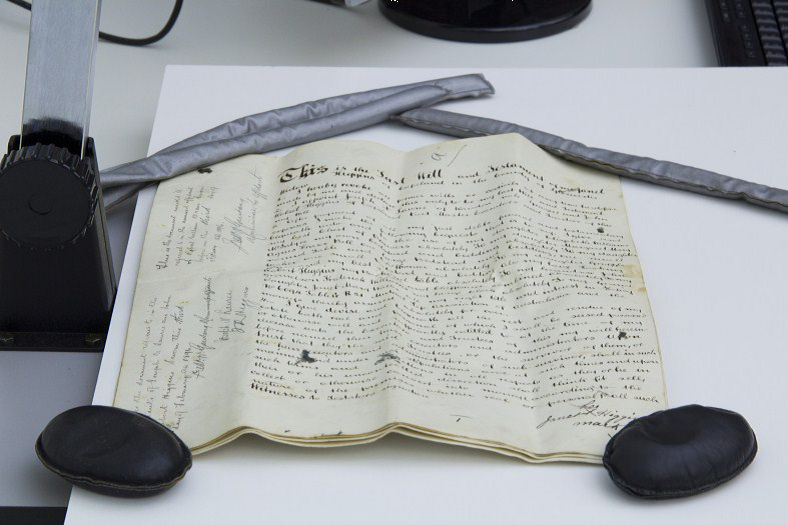
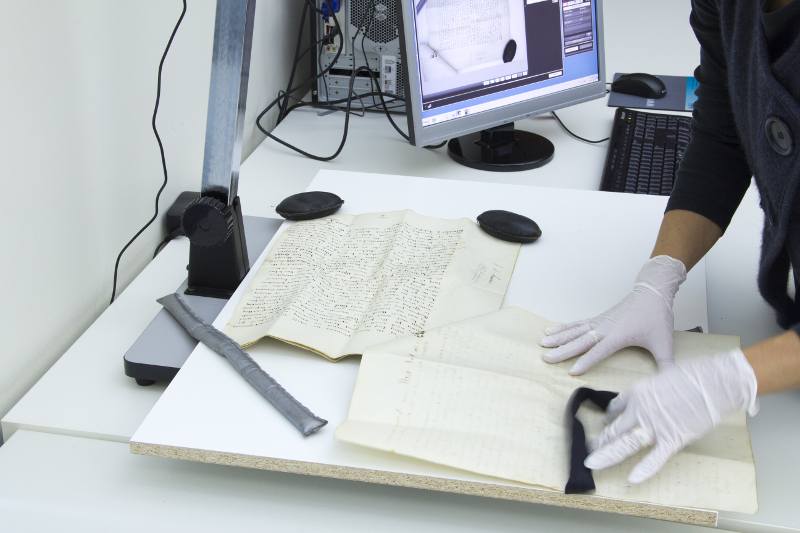
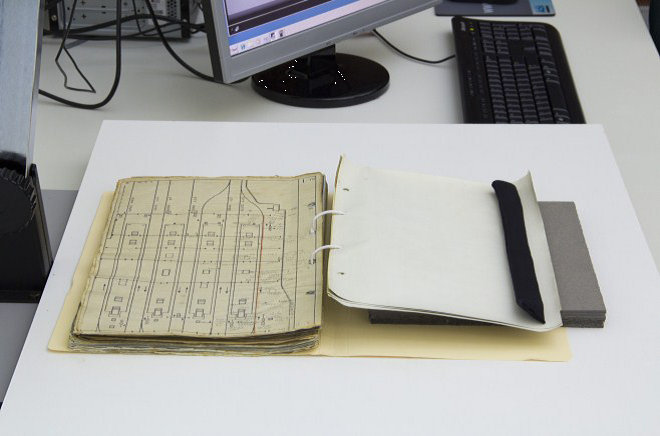
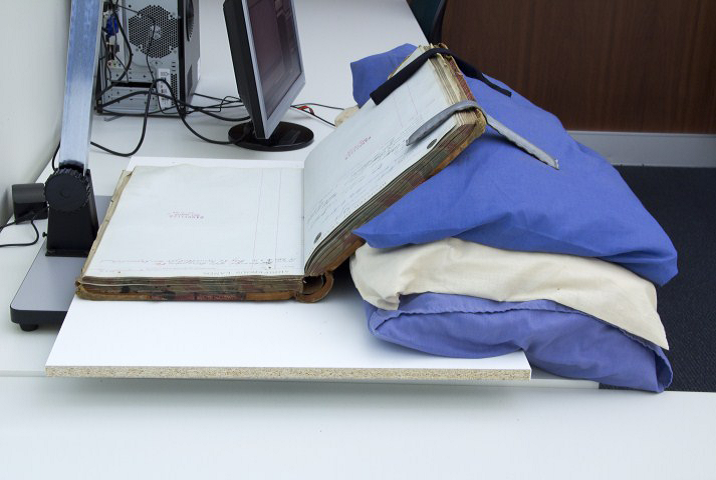
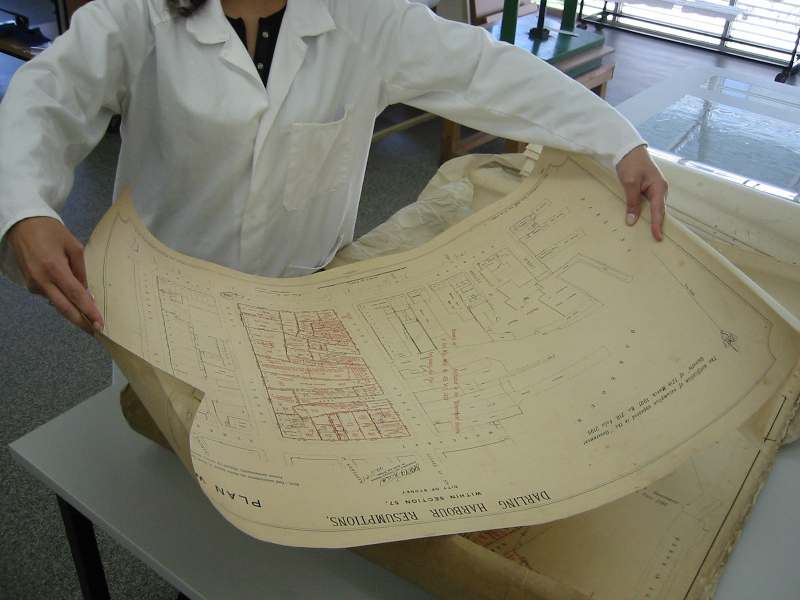
In order to meet your digitisation goals you need to make some basic decisions relating to image specifications before you begin capturing images. And, more than likely, because of the differences in the original formats (including fragile records, large maps etc) you will need a set of specifications.
It is the unique characteristic of each archive that will often necessitate different approaches to image capture.
For example:
- photographs and detailed images require a much greater resolution than text-based documents
The main goal when defining your technical specifications is to create the best digital image possible, given the resources available. A basic understanding of the core imaging principles/concepts will assist in this all important decision-making process.
Resolution, bit-depth (colour depth) and colour management make up the core of a digital image. These core ingredients can contain variable amounts of data depending on your selected input parameters – specifications. You should also take time to consider an archival file type for your master files, and determine what compression (if any) you wish to use.
Tech talk – some helpful definitions
Bit depth, colour management resolution, compression, what the heck is it all about? Please allow us to shed some light on the situation (thanks Tara).
Image resolution
A digital image is a structured matrix (or grid) of tiny squares known as pixels (picture elements). Each of these pixels has an assigned tonal value and when viewed in combination with surrounding pixels form the illusion of a continuous tone image.
Image resolution is simply a measurement of the density (or number) of pixels within the digital image. It describes the amount of detail encoded within a digital image. In the scanning world, resolution is a representation of the number of samples taken from the analogue original (photograph, document etc). In general, a greater number a samples (or higher resolution) should result in a more representative digital surrogate.
Resolution can be measured using two methods. In most software programs these are referred to as pixel dimensions and document size/pixels per inch.
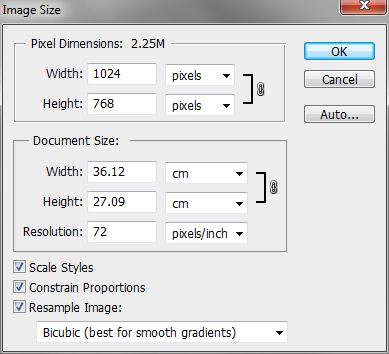
Pixel dimensions (also known as pixel array) – makes reference to the number of pixels in the matrix arrangement (array) horizontally and vertically.
For example:
- 1024 x 768 pixels, or width=1024 and height=768
Document size/pixels per inch – resolution is most commonly expressed in pixels per inch (ppi) and measures the number of pixels per square inch.
For example:
- a 1 inch x 1 inch image @ 300ppi image = 300 x 300 pixels
Pixel per inch (ppi) is a variable measurement and is dependent on knowing the size of overall the image; without this scale (or magnification ratio) the measurement loses context.
[You might be familiar with the term dots per inch (dpi) and while the two terms are often interchangeable dpi refers to printed resolution whereas ppi refers to the pixels within the digital image file].
Example of image resolution
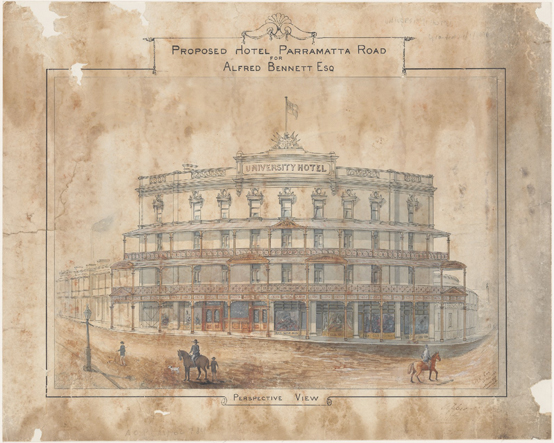
Here is a plan from our collection (University Hotel, Parramatta Road, Glebe 1890). Take note of the horse bottom right.
 Below is a close-up of the horse and shows three derivatives from the one master file. The higher the resolution, the greater the (uncompressed) file size – from 300ppi for printing down to 75ppi for web delivery.
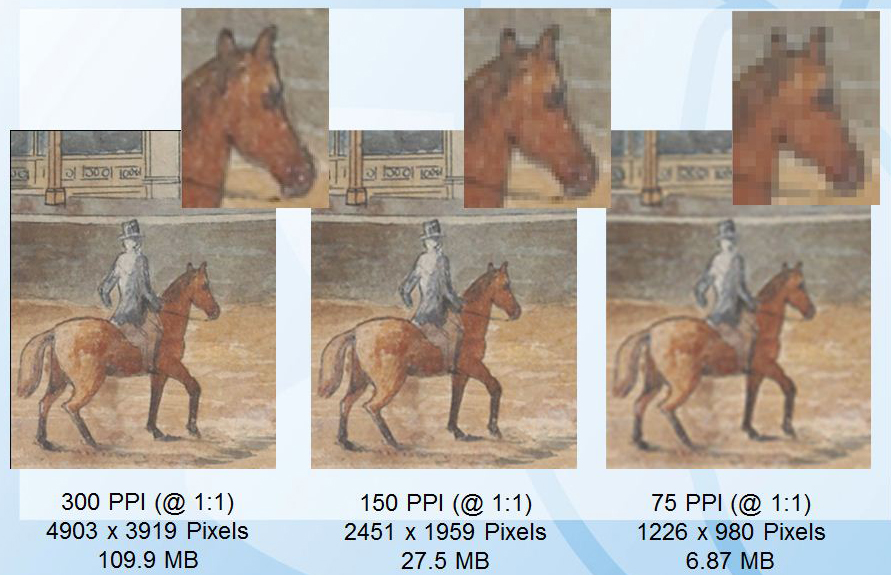
So, should I be scanning at the highest resolution possible?
A common misconception is that scanning at the highest resolution available will always produce the best quality images. Whilst it is true that the amount of detail captured within an image is controlled through resolution there are some factors to be wary of such as interpolated resolution (see below).
And of course, the higher the resolution at which you scan the bigger the file size and this will impact on your storage options (we’ll get to that later).
Optical Resolution vs Interpolated Resolution
- Optical Resolution describes the maximum sampling rate possible from a given scanning device
- Interpolated Resolution is additional ‘resolution’ or data made up (an educated guess) by the software program
Interpolation is not desirable, especially for digitisation practices as it can degrade image quality.
Tip: Take note of your scanner’s optical resolution, and only scan up to the optical limit.
Which leads us to another question…
How do I find out my optical resolution?
Consult your scanner’s manual (search online if you don’t have one). To make life extra confusing optical resolution can be expressed in either pixel per inch (where scale = 1:1) or pixel dimensions. When presented in pixel dimensions the smallest value represents ppi at a 1:1 ratio.
For example:
- an optical resolution of 600 x 1200px is equivalent to 600ppi at a 1:1 scale
Bit depth (tonal or colour depth)
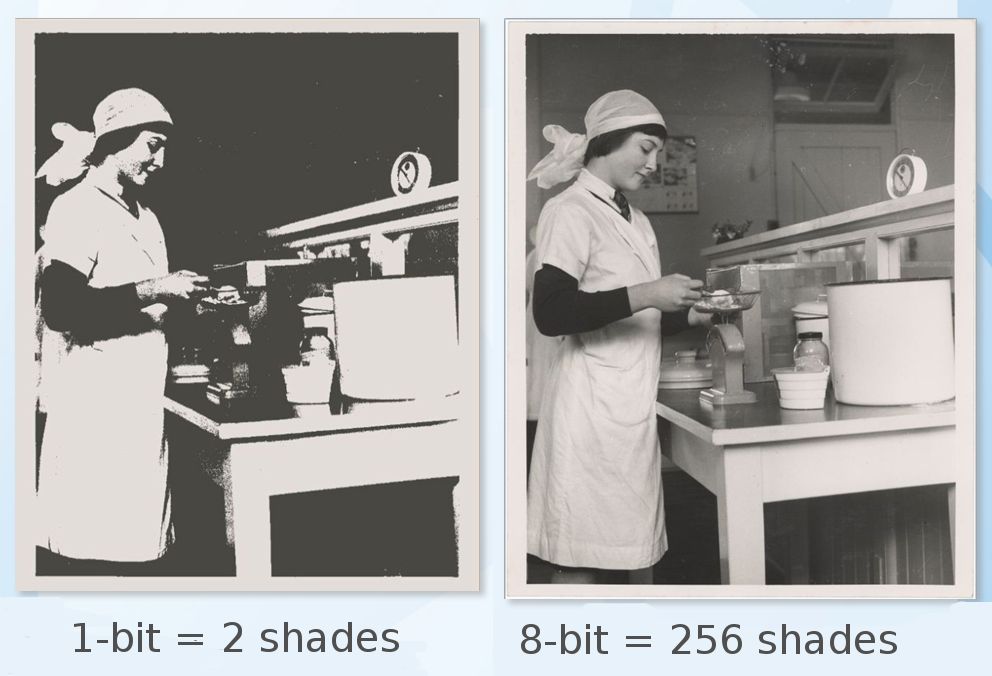
This is the measurement of the number of bits – or binary digits – devoted to storing the colour information about each pixel. The number of bits available determines the maximum possible range of colours and luminosity values (or grey shades) that can be represented within an image’s colour space or palette.
For instance, in a one bit image, each pixel is stored as a single bit (0 or 1) so there are only two digits available (black [0] or white [1]).
The formula for calculating bit-depth is: 2^(number of bit) = number of grey shades. So, for instance, in a one bit image, each pixel is stored as a single bit (0 or 1) meaning there are only two digits available (black [0] or white [1]).
In the image below you can see:
- 1bit = 2^1 = 2 grey shades (black 0 or white 1)
- 8 bit = 2^8 = 256 grey shades
So how do we get the colour?
A 24-bit colour image comprises of 8-bits of information for each of the red, green and blue (RGB) channels; so for each pixel there is 8 levels of red, 8 levels of green and 8 levels of blue:
The palette of colours increases to:
- 256 x 256 x 256 = 16.7 million colours
Down sampling – some scanners may present options such as 48-24(bit) or 36-24(bit). The higher figure is the depth at which the scanner samples the raw data; the software then converts this value into a lower bit-depth (the lower figure) which becomes the final bit-depth of the exported image.
Some common bit-depths
| Depth |
No. of Tones |
Description |
| 1-bit Bi-tonal |
2 |
Monochrome – contains only black (0) and white (1) pixels. Useful when digitising clear printed/typed text documents/publications. |
| 8-bit Greyscale |
256 |
Describes the number of pixels required for continuous tone greyscale, black and white plus a large range of intermediate greys |
| 16-bit Greyscale |
65,536 |
16-bit greyscale uses an extended colour space, creating a much larger file (double 8-bit), and requiring storage in formats that explicitly support this colour depth (TIF). |
| 8-bit Colour*(VGA) |
256 |
This colour mode was used heavy in early digital graphics, and it still sometimes used by web designers. This depth is NOT suitable for digitisation as it does not create True-tone Images. |
| 24-bit Colour |
16.7 Million |
24-bit colour is the current standard, supported by a wide range of file formats and implication. It comprises of 8-bits of information for the red, green and blue (RGB) values. |
| 48-bit Colour |
281 Trillion |
48-bit colour (16-bit per RGB channel) uses an extended colour space (trillions of colours) creating a much larger file size (double 24-bit), and requiring storage in formats that explicitly support this colour depth (TIF). Whilst images can be scanned and stored at with high colour depth at present affordable monitors and printers are not available to display or reproduce images with such high quality. |
Resolution, bit-depth, file size guide
This table is from the State Records NSW Digitisation Guideline and shows the impact of resolution and bit-depth on file size (in megabytes).
| Colour depth |
Res (ppi) |
Total bits |
Uncompressed file size |
| 1 bit bi-tonal |
300 |
8 700 867 |
1.04mb |
| 1 bit bi-tonal |
600 |
34 803 468 |
4.15mb |
| 8 bit grey or colour |
300 |
69 606 936 |
8.30mb |
| 8 bit grey or colour |
600 |
278,427,744 |
34.00mb |
| 24 bit colour |
300 |
208 820 808 |
24.89mb |
| 24 bit colour |
600 |
835,283,232 |
101.96mb |
Colour management
We won’t go too in depth on this as the use of colour management is not mandatory, but it does provide the opportunity to create images that have more accurate colour.
However, for the more experienced digitisation readers …
Colour management outlines the colour capabilities of hardware devices – cameras, scanners, monitors and printers – by creating a translation (profile) that controls how the colour is displayed (or printed) by those devices.
Colour profiles ensure the quality of reproduced colour across many output devices. The minimum requirement for most projects should be an input profile outlining the colour space of the device that was used to digitise the document (most devices will default to sRGB).
Printing is a common scenario where the need for colour profile is emphasized. Whilst printing may not be the main objective of your digitisation project, the prospective requirements should be taken into account.
Calibration will also help achieve accurate and reliable colour. Calibration refers to the process of stabilising the imaging equipment to provide a consistent colour representation.
For more information see:
http://getty.edu/research/publications/electronic_publications/introimages/image.html
Phew! Still with us? We’re going to power on through to file types and file compression.
File types
Tip: Be wary of proprietary owned files types – eg: PSD files are Photoshop files. Without the Photoshop program the files are inaccessible.
TIFF (TIF) – Tagged Image File Format
This is currently the preferred archival format for storage of images. It is the most common uncompressed image file type and retains all of the image information. It also offers lossless compression options (see below under File Compression). Most software programs use this format and it is available for both Macintosh and Windows.
JPG (JPEG) – Joint Photographic Experts Group
This format is highly compressed and removes “unnecessary” image information. Most software programs use this format and it is available for both Macintosh and Windows.
JPEG 2000
A compression standard enabling both lossless and lossy storage. The compression methods are different from the ones in standard JPEG and improve quality and compression ratios. However it requires more computational power (or to be more technical, grunt) to process.
| Format |
Bit depth |
Compression |
| TIFF (TIF) |
- RGB – 24/48 bits
- Grayscale – 8/16 bits
- Indexed colour – 1 to 8 bits
|
No Compression or Lossless (LWZ) |
| PNG |
- RGB – 24/48 bits
- Grayscale – 8/16 bits
- Indexed colour – 1 to 8 bits
|
Lossless (ZIP) |
| JPEG2000 (JP2) |
- RGB – 24/48 bits
- Grayscale – 8/16 bits
|
Lossless or Lossy |
| JPEG (JPG) |
- RGB – 24 bits
- Grayscale – 8 bits
|
Lossy |
| PSD |
- RGB – 24/48 bits
- Grayscale – 8/16 bits
- Indexed colour – 1 to 8 bits
|
No compression |
File compression
Compression shrinks the digital images for storage. There are two ways to compress:
1. Lossless eg: TIFF – keeps all data by encoding the image files. It can reduce the file size by 40-60% without scarifying (boo!) any pixel information.
The encoding stores adjacent pixels with the same colour value as a single value and the data records how many pixels have been compressed together. This way of compressing files is highly desirable when no resources for storing un-compressed files is available.
We currently store our master files as un-compressed TIFF.
2. Lossy eg: JPEG/JPG – this way of compression permanently removes “un-important data” (subtle colour/tonal information that is hard to distinguish with the human eye) aiming to strike a balance between acceptable loss of detail and bandwidth.
Lossy compression is not recommended for master images, as it scarifies (boo! x2) pixel information. It is, however, very useful for managing the bandwidth of derivative images – particularly those used for online access.
We use compressed JPEG/PNG images on our website.
While lossless compression is preferable you can see in the image below that lossy compression doesn’t always show a loss of detail. It depends on the amount of compression that is applied which in turn depends on the image content and resolution.
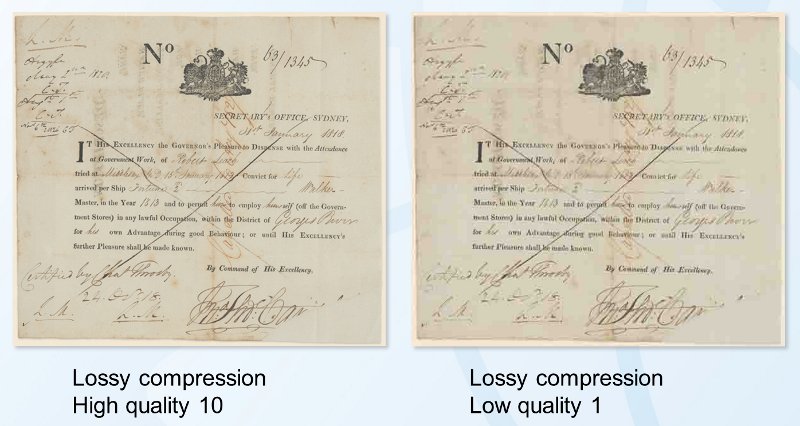
The more compression applied the more visible the result. With lossy compression you can reduce an image from 1/10 to 1/20 of its original size without perceived loss.
Tip: Lossy compression is irreversible. Each time a jpeg file is saved – even after minor edits – it will lose quality.
File storage – Digital Asset Management
While storage costs decrease as technological capabilities increase, the size and number of individual digital files will have an impact on your resources. Determining an adequate storage capacity for the amount of data your digitisation program will potentially generate is an important part of your plan.
A helpful storage calculation
To estimate the size of storage required for the digital images, a small organisation may have a calculation like this:
[Average file size = 20MB]
x
[#Digitised files/day = 100]
x
[Workdays/year =260]
=
a storage requirement of 520GB/year (or 1.56Tb over 3 years).
A larger organisation could require a storage capacity of up to 10-15Tb per year (increasing each year). This calculation is from the State Records NSW Digitisation Guideline.
Factors to consider for storage
Security – can the files be tampered with/can an unauthorised user gain access?
Accessibility – are the files easy to retrieve by an authorised user? Is there a record of where items are stored? This could include sensible naming conventions for the digital files; organised folders/labels; keywords (metadata). Will they remain accessible long-term as storage systems change/or update?
An example of naming a convention for a series of files:
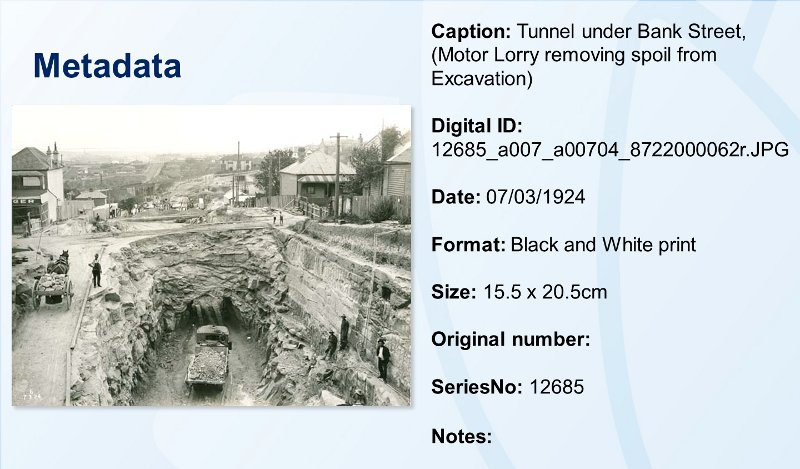
series number + job number + photo/file in sequence = 17420_a012_00004.jpg
At State Records our master files are stored on a dedicated server. Access is limited to authorised staff only, lessening the chance of lost or tampered data.
Image files for ‘use’ (web delivery, staff requests, copy orders etc) are stored on a separate server. A greater number of authorised staff have access to these files.
Media – will you store images on a hard-drive; CD/DVD; USB stick/memory card? There’s no perfect medium – each has a limited lifespan.
Back-ups – any of the above media could malfunction – have you made a back-up? Do you regularly update your back-up or check its functionality?
Recognised guidelines for capturing digital images
As we’ve discussed above, resolution, colour-depth, file type, compression and storage need to be considered in your plan.
Remember: these parameters often depend of the format of the original item.
Whilst there is currently no universal standard for digitisation specifications, a number of organisation have published recognised guidelines for capturing digital images – we have included here for your reference.
Every organisation will have differing requirements/capabilities depending on the nature of their collection and the digitisation resources available to them.
If you’re still reading give yourself an almighty pat on the back! In the next post we provide some tips on handling and scanning archives.

