So far in this digitisation blog series we’ve covered program planning, the golden rule of digitisation, the heady world of techs and specs and now we come to practical tips for image capture.
For general handling of archives see our post Moving and handling – the Basics. Most of the tips below are from our reading room posters that were designed for researchers wishing to scan or photograph archives.
See also care and handling guidelines from the National Library of Australia which includes information on glass plate negatives and transparencies.
What can be scanned?
Items smaller than the bed of the scanner:
- flat cards and single, loose pages
- photographs
- glass plate negatives
- transparencies.
What should be photographed?
- documents that require the removal of pins or other fasteners
- documents that would need to be bent or folded in any way on a scanner
- documents that retain a strong “fold” memory and will not sit flat easily
- anything that is larger than the glass on your scanner.
General tips for scanning or photographing
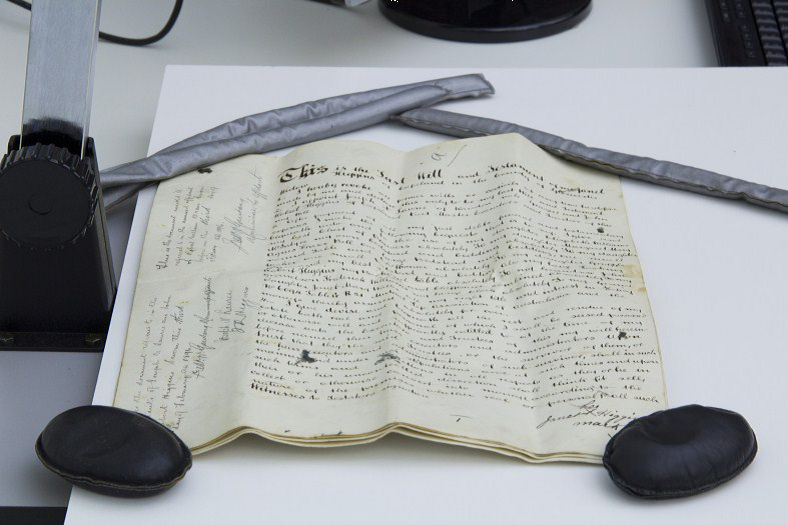
- use soft leather weights to hold documents in place
- bleed-through from the reverse page can be reduced by placing a sheet of black card between the pages
- thin documents may benefit from a sheet of white paper placed behind the page.
Using a flat-bed scanner
- ensure the scanner is calibrated correctly (some equipment includes colour charts, or you can find information about colour management online)
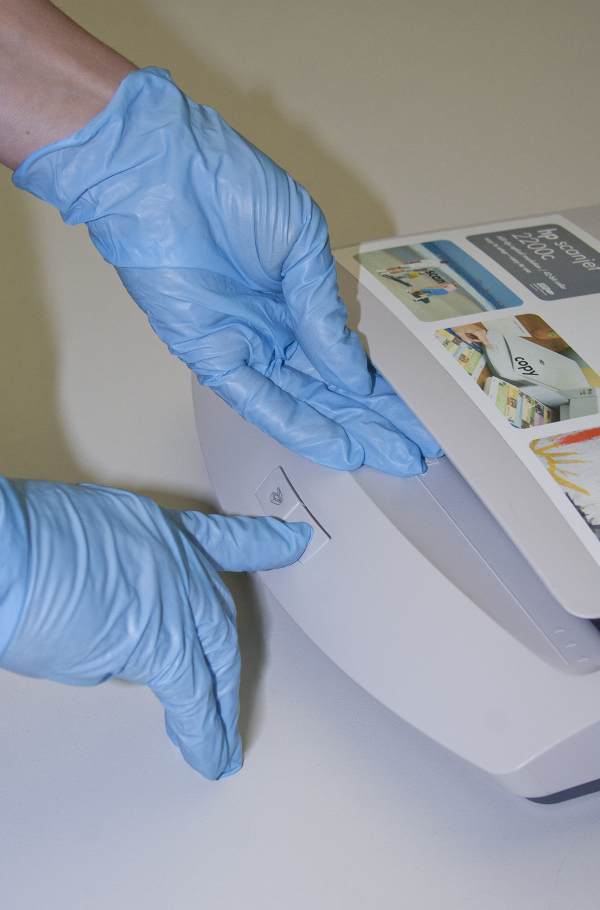
- is the glass plate clean? Some archives leave dust behind and the screen may need a clean with a soft lens cloth or blower brush between each scan
- do not place pressure on the scanner lid to keep a document flat – ensure there is a gap by placing your fingers under the scanner cover.
Handling archives for a photography session
Single Pages
- if the document has been folded place leather weights mainly where the heavy folds will not lie flat (Tip: small undulations will not affect the copy quality)
- ensure the weights do not obscure text or other information
- take care not to place weights over damaged areas of the document.
Bundled files
– fastened with pins, staples, split pins, thread and plastic ring binders
When fastened at the corner:
- use weights to position the document while a page is opened
- maintain a soft curve in the page as you open the document – this will prevent hard creases and tears forming around the folds and indentations
- use a book pillow to maintain a soft curve where the page does not naturally sit this way.
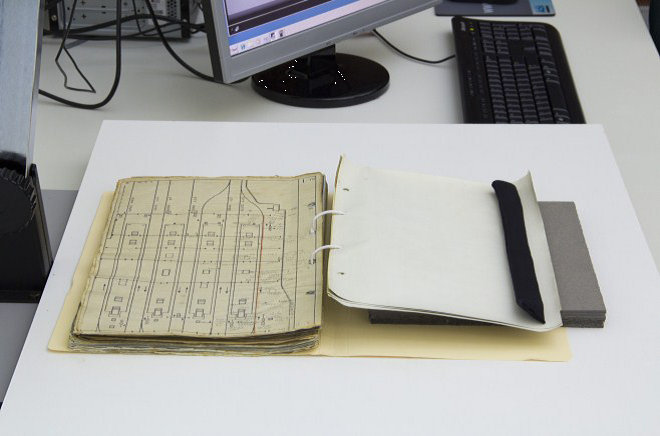
When fastened along the edge:
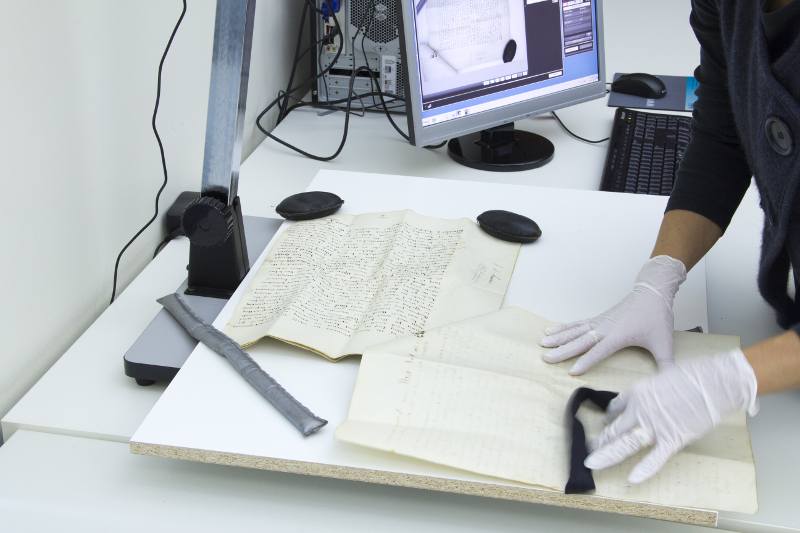
- use support boards to build a level that matches (or is similar to) the document stack
- use a soft leather weight to hold the page open on the supporting board stack while you photograph from the document stack
- maintain a soft curve in the open page to prevent creases and tears.
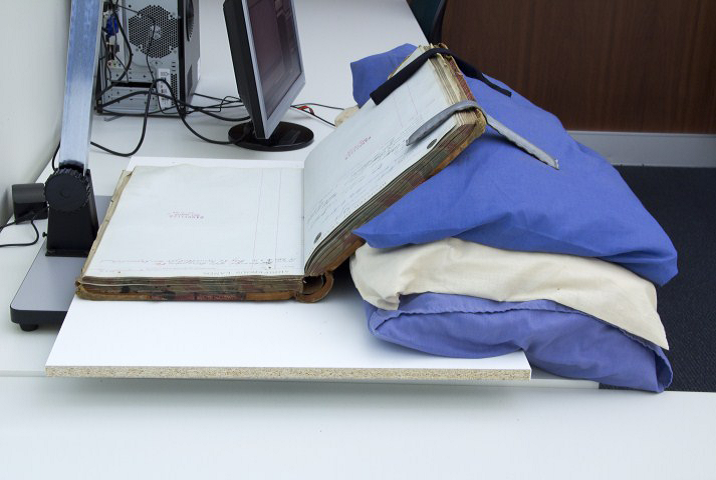
Volumes/ledgers etc
These objects require special handling to prevent damage and to provide the best quality copy image.
- place the volume with the spine facing you
- position pillows (our pillows are filled with beanbag beans) against the spine and open the front cover. The spine should sit easily and with no strain on the sewing
- increase or decrease the number of pillows to provide the best support
- open the book in small sections to get to the page you wish to copy
- use soft leather weights to hold pages open
Photographic prints
Photographic materials contain silver compounds and sensitive dyes that are very susceptible to damage from the oils and acids in our skin.
- always wear plastic gloves (plastic provides a complete barrier between the archives and your skin while allowing for good dexterity and handling feel)
- do not bend or crease the photo – this will crack the emulsion
- if a photo is fragile or damaged use a camera rather than a scanner
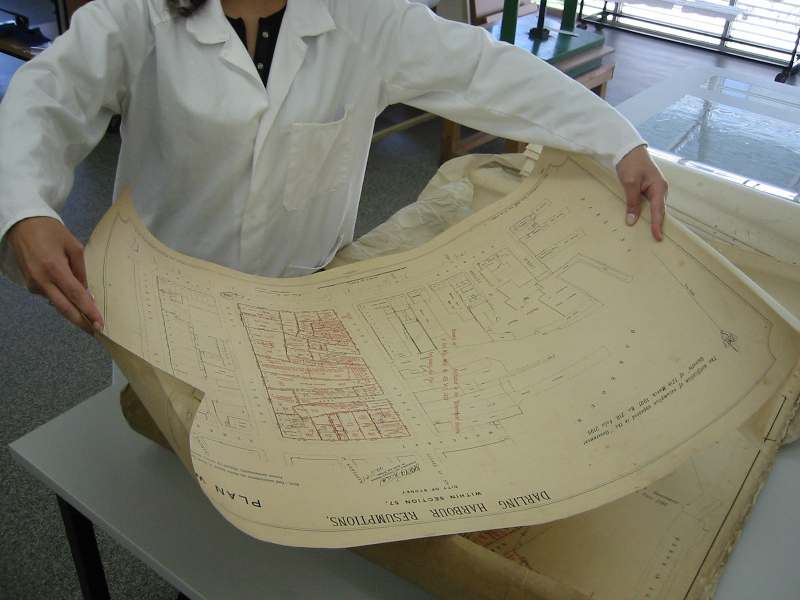
Maps and plans
Maps and plans can be large and unwieldy, and come on varied supports, including paper and plastic.
- use soft weights to hold down plans that have been rolled
- hold from two strong points and carry plans in a u-shape to prevent creases
Tips for creating your master photos files
Capture the whole image
Capture the edges of the photograph (where possible) to show that the image has not been cropped in any way. The original photos won’t necessarily have square edges so this technique will also ensure no information is left out.
Frames, mounts, backings
Some photos in our collection have decorative supports (see photo of the doctor below) and some are housed in – or have been glued into – photo albums (see the album below).
Will you include these ‘extras’ in the digitised version? At State Records we do; it ensures the item has been captured in its entirety. Does the backing also need scanning? Check for information that may be relevant to the archive and scan if necessary.
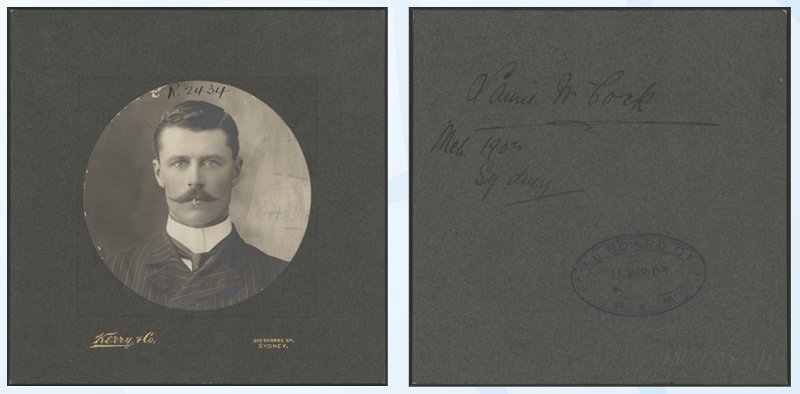
Framing of pictures and text on reverse of image. Dr Lawrence William Cock, dated March 1903 Digital ID 9873_a025_a025000097
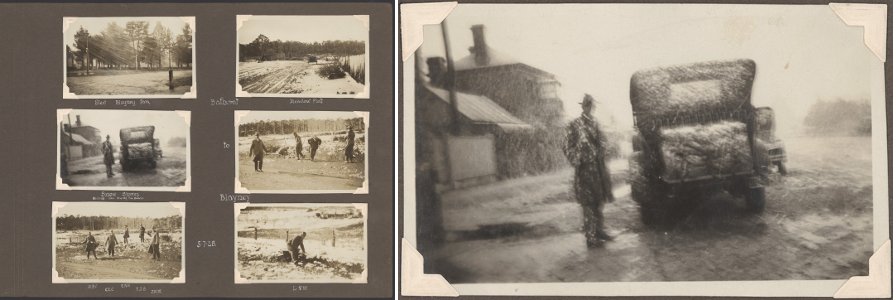
In a recently digitised photographic series at State Records the photos were stored in albums. We scanned the album page in full and then the images separately.
In the next – and final – post we look at quality control, metadata and access.

Gam Kate says:
I have the same problem with fragile and sensitive papers.
Never want to feed them into scanner.
but i saw this xcanex.
Have you tried it?
http://www.youtube.com/watch?v=Vuov8BvNh1U